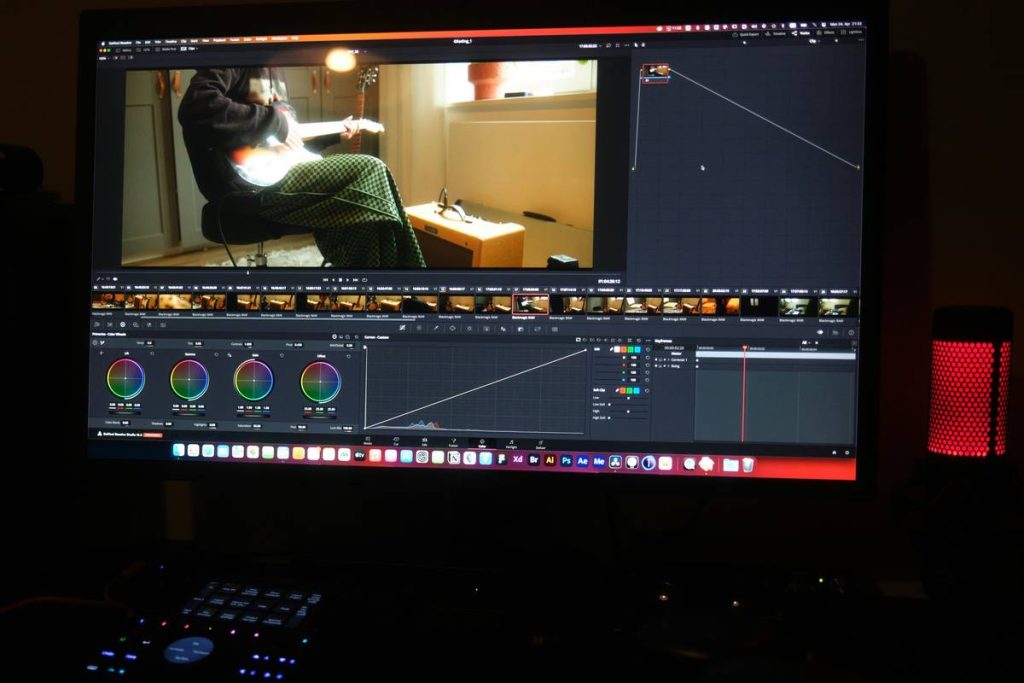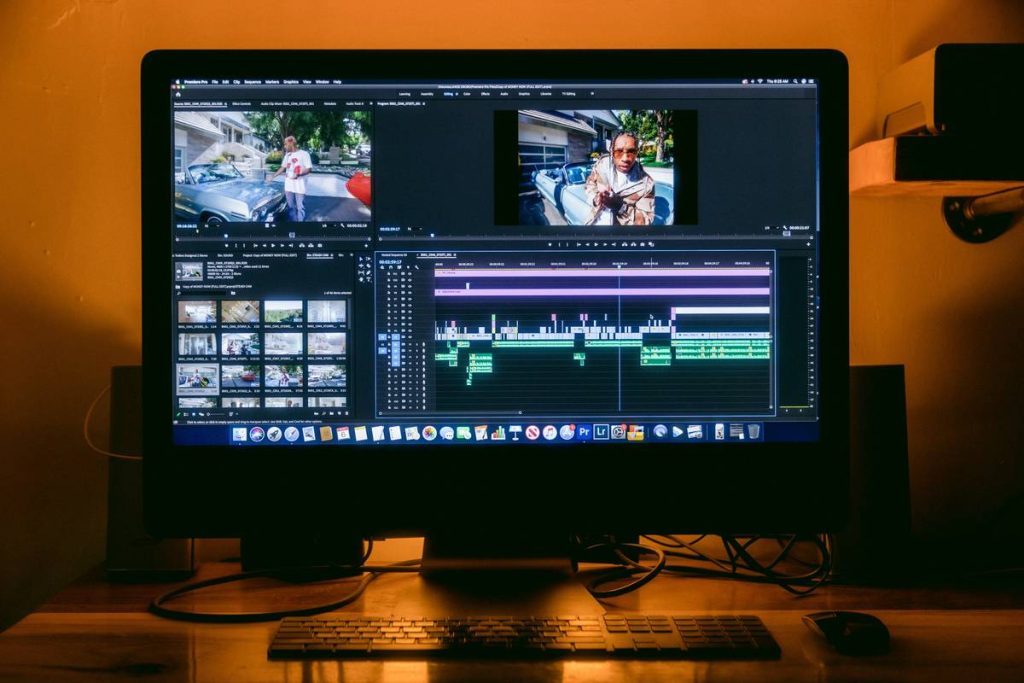
Ever spent six hours editing a 2-minute documentary only to realize you never backed up your raw DV tapes—and your camcorder died in a suspiciously coffee-related accident? Yeah. We’ve been there. That frantic scramble, the overheated laptop fan screaming like a banshee during render, the sinking dread when you realize your timecode is out of sync… Again.
If you’re working with legacy or contemporary Digital Video (DV) footage—whether from MiniDV tapes, FireWire imports, or archived projects—you need a computer DV editing workflow that’s efficient, reliable, and scalable. This post breaks down exactly how to build one that won’t melt your CPU or your sanity.
You’ll learn:
- Why DV still matters in 2024 (yes, really)
- The step-by-step pipeline—from capture to export
- Software picks that actually respect your hardware
- Real-world mistakes (like my “accidental NTSC-PAL mismatch” horror story)
- And why auto-save isn’t optional—it’s oxygen.
Table of Contents
- Key Takeaways
- Why Does Editing DV Footage Feel Like Wrestling a Greased Octopus?
- Your Step-by-Step Computer DV Editing Workflow
- 7 Best Practices (That Actually Prevent Meltdowns)
- Case Study: Restoring a 2003 Wedding Video Without Losing My Mind
- FAQs About Computer DV Editing Workflow
- Conclusion
Key Takeaways
- DV (Digital Video) uses a standardized 25 Mbps bitrate with 4:1:1 or 4:2:0 chroma subsampling—critical for preserving quality during capture.
- Always capture DV via FireWire (IEEE 1394); USB adapters often introduce frame drops.
- Use software that natively supports DV-AVI (Windows) or QuickTime DV (macOS) to avoid transcoding headaches.
- Backup immediately after capture—DV tapes degrade at ~20% fidelity loss per decade (per Library of Congress preservation guidelines).
- Modern tools like DaVinci Resolve, Final Cut Pro, and even Shotcut handle DV better than ever—if configured correctly.
Why Does Editing DV Footage Feel Like Wrestling a Greased Octopus?
Let’s be real: DV isn’t dead. Archives are full of it. Indie filmmakers, journalists, and even YouTubers digitizing vintage content constantly bump into MiniDV, DVCAM, or HDV footage. But editing it on a modern computer? Feels like trying to plug a floppy disk into an iPhone.
Here’s the rub: DV was designed for linear tape systems and early-2000s CPUs. Today’s NLEs (Non-Linear Editors) expect H.264, ProRes, or HEVC—not 720×480 interlaced streams wrapped in ancient containers. When your software doesn’t recognize the timecode or drops frames because your USB capture dongle can’t maintain sustained 3.6 MB/s throughput? That’s not user error—that’s a broken workflow.
I once lost two days re-capturing footage because I used a $12 Amazon USB-to-DV adapter that claimed “plug-and-play.” Spoiler: It played… poorly. The resulting file had stuttering audio and skipped every 17th frame. Lesson learned: If it doesn’t say IEEE 1394, walk away.
Your Step-by-Step Computer DV Editing Workflow
Step 1: Capture Correctly (Yes, There’s a Right Way)
Optimist You: “Just drag the files over!”
Grumpy You: “Ugh, fine—but only if you promise to use FireWire and check timecode integrity first.”
Use native FireWire (IEEE 1394) capture. On Windows, Adobe Premiere Pro or VirtualDub can pull clean DV-AVI files. On macOS, Final Cut Pro 7 (still the gold standard for DV) or newer FCP with Legacy Import. Never transcode during capture—it adds generational loss.
Step 2: Organize Like a Librarian on Caffeine
Create folders: /Raw_Capture, /Proxy_Files (if needed), /Audio_Separate, /Exports. Name files with date_project_description (e.g., 20030412_WeddingSmith_DV.avi). DV files are large (~13 GB/hour)—so ensure you have fast external storage (7200 RPM HDD minimum; SSD preferred).
Step 3: Deinterlace (But Only If You Must)
DV is interlaced. For modern displays, you’ll likely need to deinterlace. Use “motion-adaptive” methods (in DaVinci Resolve: right-click clip > Input Type > Interlaced > Upper Field First > Output as Progressive). Avoid “blend fields”—it creates ghosting.
Step 4: Edit Non-Destructively
Work with original files. Don’t “optimize media” unless your system chokes. DV’s bitrate is low by today’s standards—most modern CPUs can play it back in real-time without proxies.
Step 5: Export Smartly
For archival: Export as original DV codec (to preserve authenticity). For web: H.264, 1080p upscale (use AI tools like Topaz Video AI cautiously), 24–30 Mbps bitrate. Always embed timecode if distributing to collaborators.
7 Best Practices (That Actually Prevent Meltdowns)
- Verify FireWire drivers—outdated OHCI drivers cause dropped frames. Update via motherboard manufacturer.
- Disable Wi-Fi/Bluetooth during capture—they interfere with FireWire bandwidth on older Macs.
- Log clips during capture—note timecode in/out points to speed up editing later.
- Never edit from external drives connected via USB 2.0—bandwidth caps at 35 MB/s; DV needs consistent 3.6 MB/s but spikes higher.
- Use checksums—after capture, run MD5 hashes to confirm file integrity.
- Bake in audio sync early—DV audio drifts over long tapes. Sync with PluralEyes or manual clap sync.
- Archive originals separately—use LTO tape or cloud cold storage (Backblaze B2) for master files.
Case Study: Restoring a 2003 Wedding Video Without Losing My Mind
Last year, a client handed me three MiniDV tapes from their wedding—20 years old, stored in a garage. Mold spots. Sticky shed syndrome. My stomach dropped.
My workflow:
- Baked tapes at 130°F for 8 hours (temporarily fixes sticky shed)
- Captured via Sony DSR-30 deck + FireWire 800 on a 2012 Mac Pro (yes, I keep legacy rigs)
- Used Final Cut Pro 7 for capture (preserved timecode perfectly)
- Deinterlaced with AviSynth + QTGMC for smooth motion
- Exported master as ProRes 422 HQ + web version as H.265
Result? A tearful thank-you email and a restored family heirloom. Total time: 18 hours. Could’ve been 40+ with the wrong tools.
FAQs About Computer DV Editing Workflow
Can I edit DV footage in CapCut or iMovie?
Technically yes—but both transcode on import, breaking timecode and adding compression. Not ideal for professional or archival work.
Do I need a capture card?
Only if your computer lacks FireWire. Use OEM-certified FireWire PCIe cards (like SIIG or Adaptec), not USB adapters.
Is DV still relevant in 2024?
Absolutely. The Library of Congress estimates over 100 million DV tapes exist in personal archives. Plus, DV’s intraframe compression makes it remarkably editable compared to long-GOP formats like AVCHD.
What’s the worst advice I’ve heard about DV editing?
“Just convert everything to MP4 first.” Terrible tip! You lose generational quality, timecode, and metadata. Always work from the original DV stream.
Conclusion
A robust computer DV editing workflow isn’t about nostalgia—it’s about respecting the medium and the memories encoded in those tiny tapes. With the right hardware (FireWire!), disciplined organization, and software that honors DV’s quirks, you can transform jittery, interlaced footage into timeless stories—without frying your laptop or your patience.
Remember: The goal isn’t just to finish the edit. It’s to finish it right—so that decades from now, someone else can press play and feel exactly what you felt behind the camera.
Like a Tamagotchi, your DV archive needs daily care—or at least annual checksums.
Tapes spin in silence
FireWire hums, frames align—
History reborn.