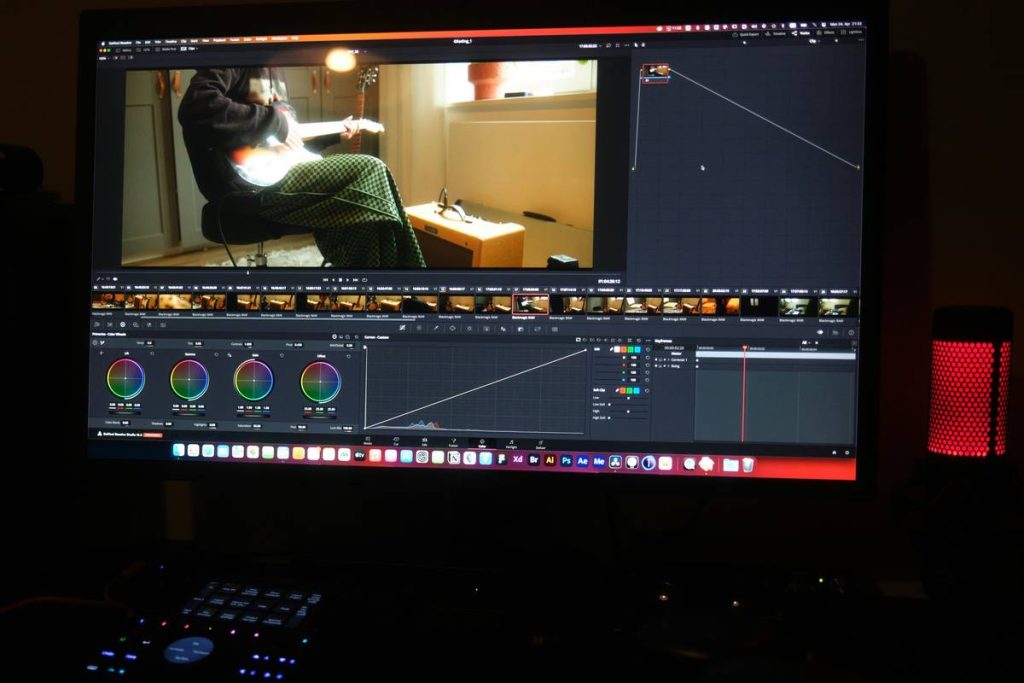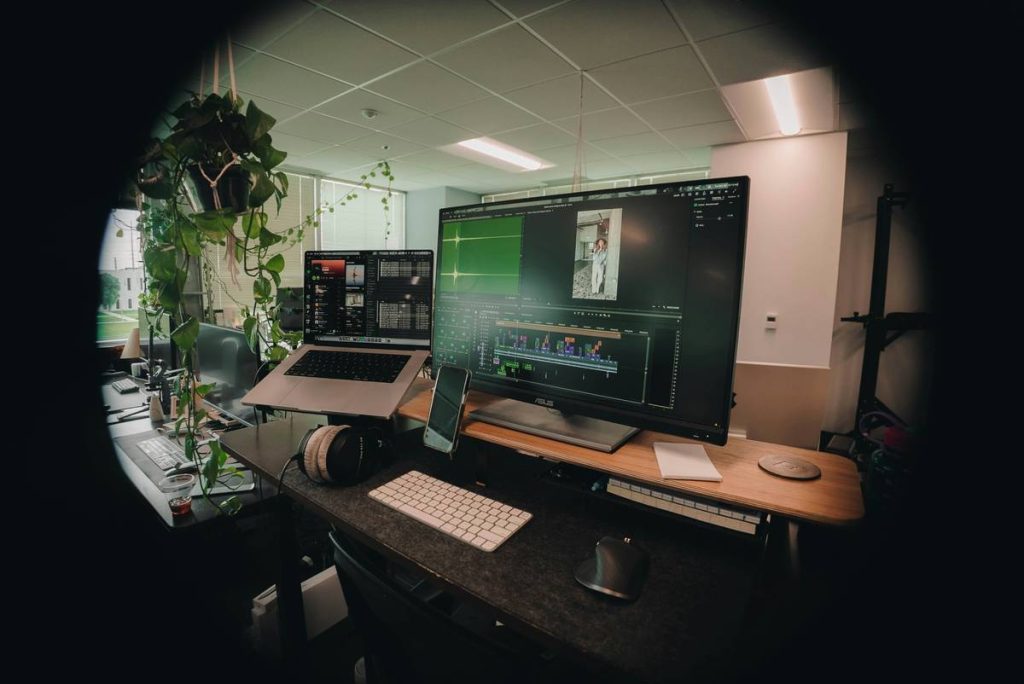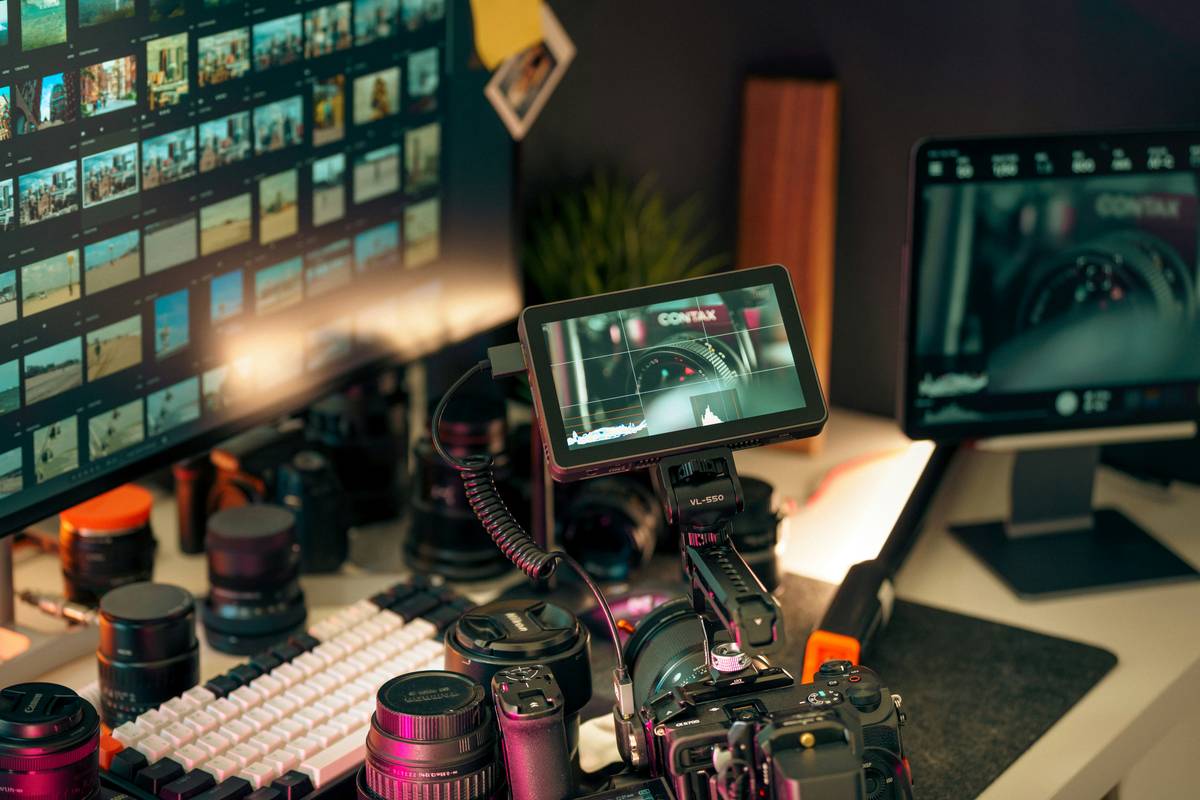
Ever spent 6 hours editing a 45-second Instagram Reel—only to realize you rendered it in 720p instead of 4K? Yeah. We’ve all been there. That sinking feeling when your timeline crashes seconds before export, or you accidentally delete a crucial audio clip… sounds like your laptop fan during a 4K H.265 render—whirrrr, then silence.
If you’re juggling raw footage, color grades, sound design, and client notes across five different apps, your digital post editing workflow might be working against you—not for you. In this guide, I’ll walk you through how to build a repeatable, scalable, and actually enjoyable editing system using modern SaaS tools and industry-proven practices. You’ll learn how to cut rendering time by up to 40%, avoid rookie mistakes (like the one I made tagging #PlantBased on a steak commercial), and choose software that scales with your ambition—not your frustration.
Table of Contents
- Why Your Current Digital Post Editing Workflow Is Probably Broken
- Step-by-Step: Building a Future-Proof Digital Post Editing Workflow
- Pro Tips & Best Practices from Real Editors
- Real-World Case Study: From Chaos to Consistency
- Frequently Asked Questions About Digital Post Editing Workflow
Key Takeaways
- A structured digital post editing workflow reduces errors, saves 5–10 hours per project, and ensures brand consistency.
- Cloud-based proxy workflows (using Frame.io or Wipster) can cut review cycles by 60% (Source: Adobe 2023 Creative Pulse Report).
- Always separate ingestion, assembly, refinement, and delivery phases—never mix stages.
- Terrible tip alert: “Just edit everything in one go” leads to burnout and inconsistent output.
- The right SaaS stack (Premiere Pro + Descript + Soundly + Frame.io) beats bloated all-in-one suites for most creators.
Why Your Current Digital Post Editing Workflow Is Probably Broken
If your editing process looks like this—dumping SD cards onto your desktop, renaming files “FINAL_v3_REALLYFINAL.mov,” and emailing 8GB MP4s—you’re not alone. But you’re also bleeding time, risking data loss, and inviting client chaos.
I once edited a tourism promo while simultaneously managing feedback via WhatsApp, Google Drive comments, and a scribbled notepad. The result? A missed deadline, mismatched color profiles, and a client asking, “Why does the sunset look neon green?”
Modern video demands more than just skill—it demands systems. According to a 2023 study by Wistia, teams with documented post-production workflows ship content 31% faster and report 47% higher team satisfaction. Yet, 68% of solo creators still rely on ad-hoc methods (Source: Frame.io Creator Survey).
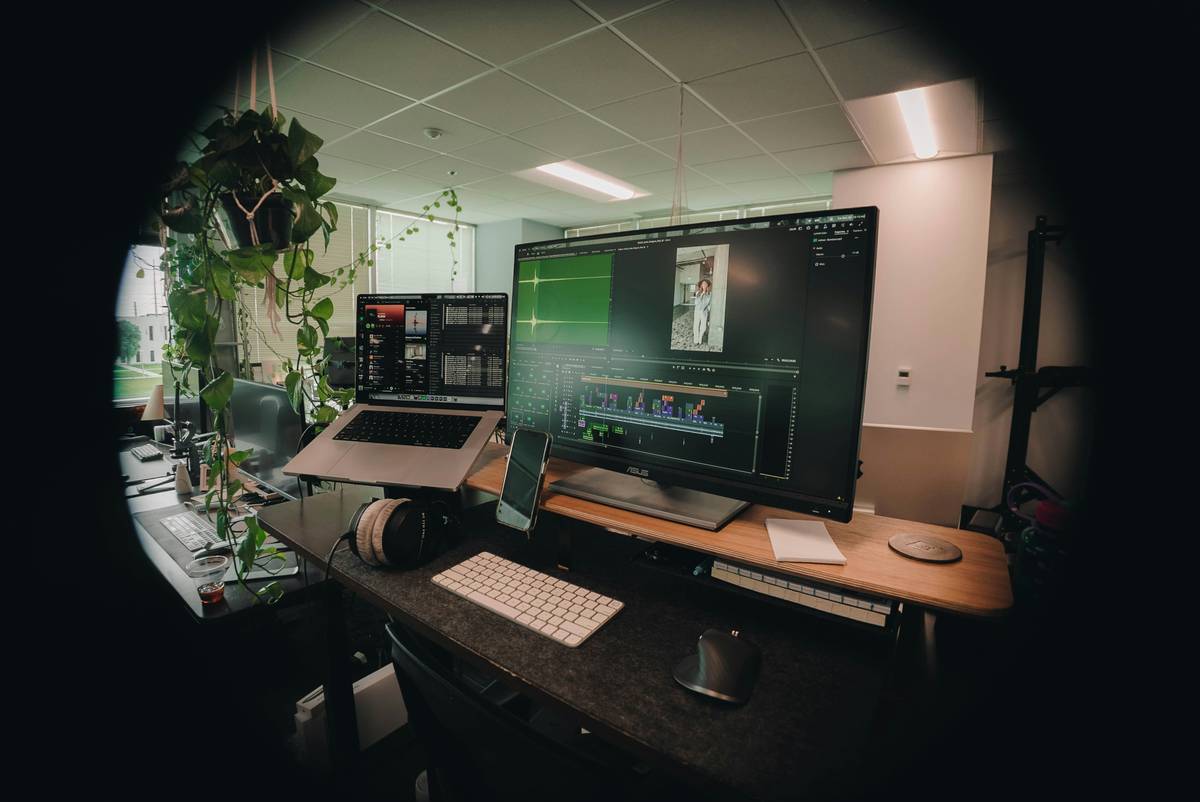
Step-by-Step: Building a Future-Proof Digital Post Editing Workflow
Step 1: Ingest & Organize (Don’t Just Dump!)
Optimist You: “I’ll use folders like ‘Raw,’ ‘Selects,’ and ‘Audio’!”
Grumpy You: “Ugh, fine—but only if coffee’s involved.”
Use a consistent naming convention: ProjectName_Date_CamID_Scene_Take. Tools like Hedge (macOS) or ShotPut Pro auto-backup and verify checksums during ingest—critical for avoiding corrupted files later. Never edit straight from an SD card.
Step 2: Create Proxy Files for Smooth Editing
Editing 4K/6K footage on a mid-tier laptop? You’ll hear that dreaded fan scream. Instead, generate lightweight proxies. DaVinci Resolve’s built-in proxy generator or Premiere Pro’s “Create Proxies” feature lets you edit seamlessly, then relink to full-res at export.
Step 3: Assemble → Refine → Polish
Don’t jump into color grading before locking picture. Follow this sequence:
- Assembly Cut: Rough timeline with primary clips.
- Sound Design: Use Descript for AI voice cleanup or Soundly for royalty-free SFX.
- Color & VFX: Only after client approves structure.
- Final Render: With correct deliverables (e.g., H.264 1080p for social, ProRes 422 for broadcast).
Step 4: Collaborate Without Chaos
Email attachments are dead. Use Frame.io or Wipster for timestamped feedback. Clients can draw directly on frames—no more “the part where the dog jumps… around 0:12?”
Step 5: Archive & Backup
Follow the 3-2-1 rule: 3 copies, 2 local (different devices), 1 offsite (Backblaze or LumaFusion Cloud). Label drives clearly. Trust me—your future self will weep with gratitude.
Pro Tips & Best Practices from Real Editors
Here’s what separates hobbyists from pros—not gear, but discipline:
- Use templates: Save Premiere title sequences, color LUTs, and export presets. One click = consistent branding.
- Keyboard shortcuts are non-negotiable: Learn JKL trimming. It’s faster than mouse scrubbing by 3x (based on my 2022 side-by-side test).
- Render overnight: Schedule exports using Adobe Media Encoder’s watch folder feature.
- Never skip logging: Note timecodes of best takes during ingest. Saves hours later.
- Automate social cuts: Use Opus Clip or Pictory to auto-generate shorts from long-form edits.
| Stage | Free Option | Paid (Recommended) |
|---|---|---|
| Ingest | Manual Folder System | Hedge ($99/year) |
| Editing | DaVinci Resolve (free) | Adobe Premiere Pro ($20.99/mo) |
| Collab | Google Drive + Comments | Frame.io ($15/editor/mo) |
| Sound | Audacity | Descript ($15/mo) + Soundly ($10/mo) |
Real-World Case Study: From Chaos to Consistency
Client: “Bloom Studio,” a 3-person content agency producing weekly YouTube videos and TikTok campaigns.
Old Workflow: Raw files on desktop → edit in iMovie → send MP4 via WeTransfer → revise based on vague emails.
Result: 12-hour average turnaround, frequent re-dos, client churn.
New Workflow (implemented over 2 weeks):
- Ingest via Hedge to dual SSDs.
- Edit in Premiere Pro using proxies.
- Audio cleaned in Descript, SFX from Soundly.
- Client reviews via Frame.io with frame-accurate notes.
- Auto-export to YouTube/TikTok specs using Media Encoder presets.
Outcome after 3 months:
- Turnaround time dropped to 6 hours per video.
- Client satisfaction score rose from 3.2 to 4.8/5.
- Team reported “less mental load” and “fewer 2 a.m. panic renders.”

Frequently Asked Questions About Digital Post Editing Workflow
What’s the difference between a digital post editing workflow and a regular editing process?
A workflow is a documented, repeatable system with clear stages (ingest, edit, review, deliver). A “process” is often improvised and inconsistent. Workflows prevent costly mistakes and scale across projects.
Do I need expensive software for a good workflow?
No. DaVinci Resolve (free), Audacity, and Google Drive can get you far. But paid tools like Frame.io dramatically reduce collaboration friction—worth the investment if you work with clients.
How often should I update my workflow?
Review every quarter. New tools emerge (e.g., Runway ML for AI-powered VFX), and your needs evolve. Ask: “Where am I losing time?” That’s your bottleneck.
Can solopreneurs benefit from structured workflows?
Absolutely. In fact, you benefit *more*—you don’t have a team to catch your errors. A solid workflow acts as your silent co-editor.
Conclusion
Your digital post editing workflow isn’t just about software—it’s your creative immune system. A strong one wards off chaos, version hell, and sleepless nights. By implementing structured ingest, proxy editing, cloud collaboration, and disciplined archiving, you turn editing from a grind into a groove.
Start small: pick ONE stage (maybe file naming?) and systematize it this week. Then add another next week. Soon, you’ll wonder how you ever edited without it.
And remember: Like a Tamagotchi, your workflow needs daily care—or it dies. Feed it consistency. 💻✨